How to Create an Allingo Account for Smarter Shipping
Efficient logistics management remains a critical component for successful operations. Streamlining fulfillment processes often requires accessing multiple couriers, which can be time-consuming. The Allingo platform offers a centralized solution, allowing access to over 10 delivery partners in a single location. By utilizing this service, businesses and individuals can experience faster, cheaper, and more reliable deliveries. Setting up a profile is a rapid process that can be completed in minutes. This tutorial provides a structured guide on how to register and prepare the dashboard for optimal use.
Step-by-Step Account Setup Guide
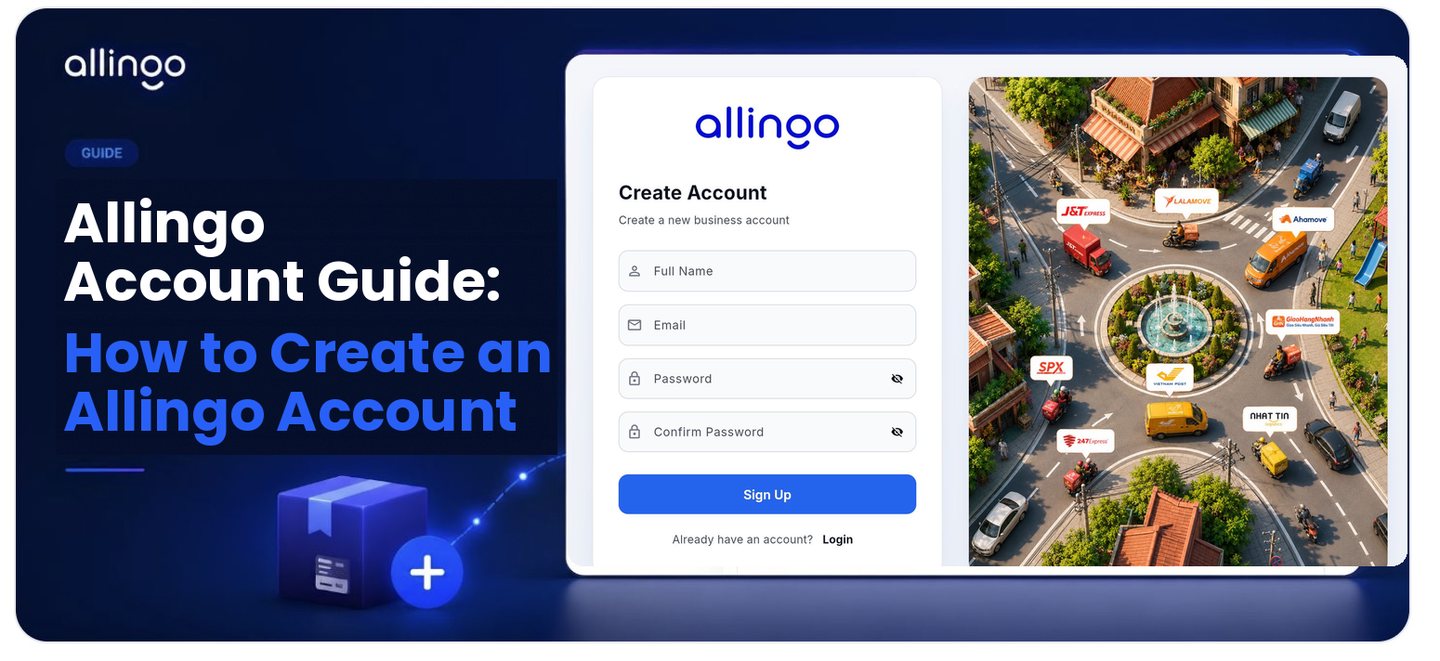
Step 1: Sign Up for a Business Account
Begin by visiting business.allingo.vn and choosing to create a new account. On the Create Account screen, enter your Full Name, Email, and a secure Password, then re-enter it in the Confirm Password field. Click the blue Sign Up button to register. If you already have an account, use the Login link instead.
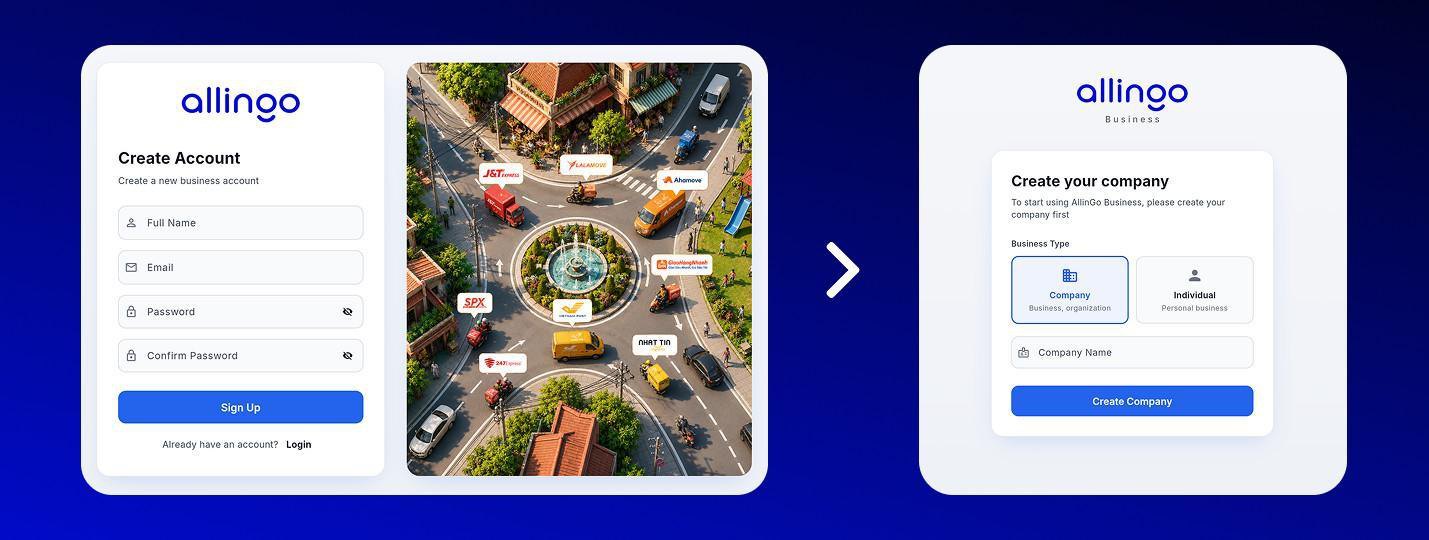
Step 2: Choose Your Account Type
After signing up, Allingo asks you to set up your business profile by selecting a Business Type:
- Company: For a business or organization. To start using Allingo Business, you only need to enter your Company Name, then click Create Company. No lengthy forms are required to get started.
- Individual: For personal business use.
Once your company is created, your account is ready and you are taken straight to the dashboard.
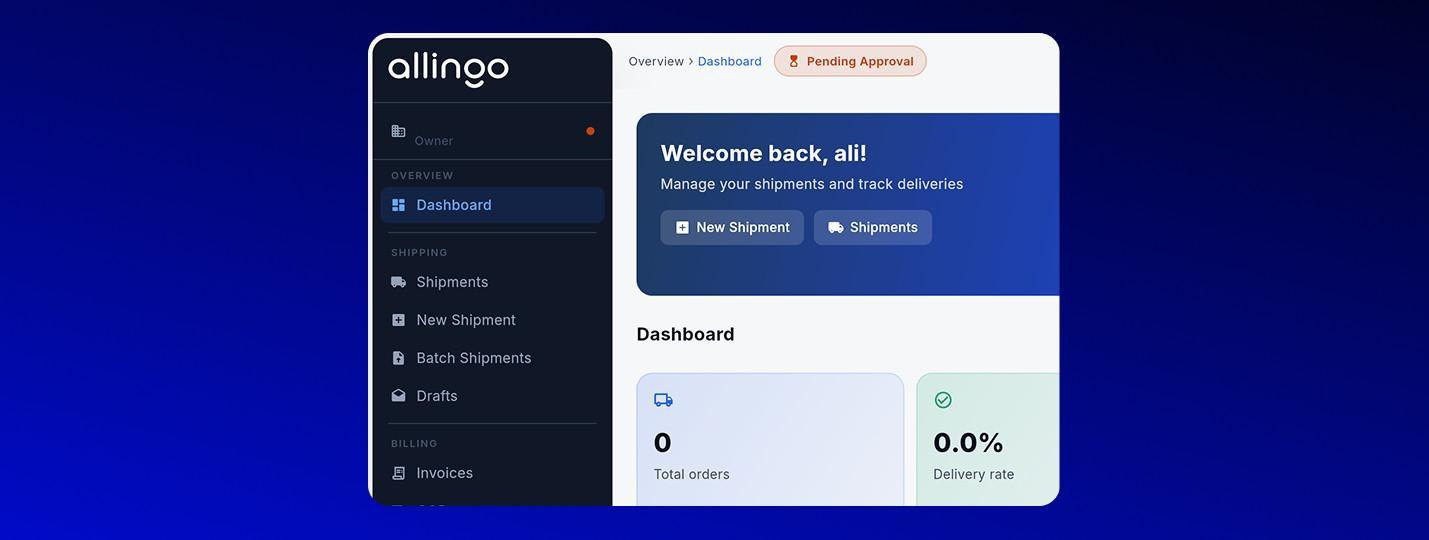
Step 3: Access Your Dashboard
After creating your company, you land directly on the Allingo dashboard. Here you get a complete overview of your shipping activity — total orders, delivery rate, and COD (Cash on Delivery) metrics — along with quick actions to create a New Shipment or view existing Shipments. New company accounts may display a Pending Approval status while Allingo verifies the business; you can still explore the dashboard and set up payment in the meantime.
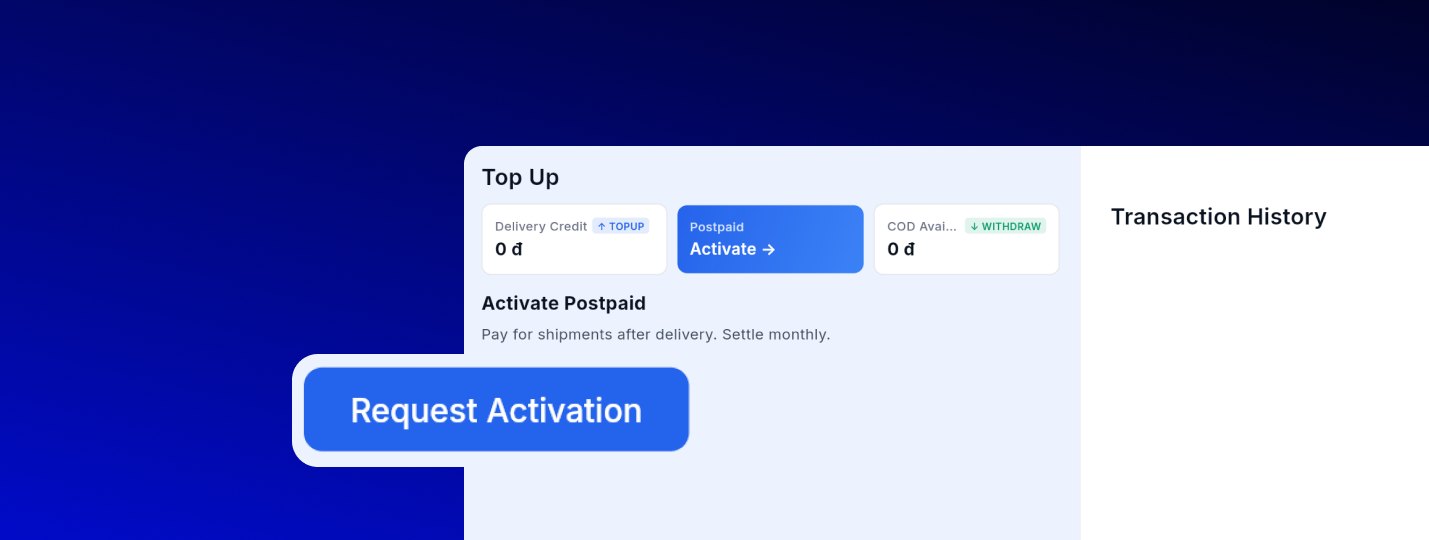
Step 4: Top Up or Activate Postpaid to Start Shipping
From the top of the dashboard, you can fund your account so you are ready to ship. There are two main options:
- Top Up your delivery credit: Click Top Up, choose a denomination (50K, 100K, 200K, 500K, 1M, or 2M) or enter a custom amount, then scan the QR code to pay via TPBank or select Pay with card. Your delivery credit updates once the payment is confirmed.
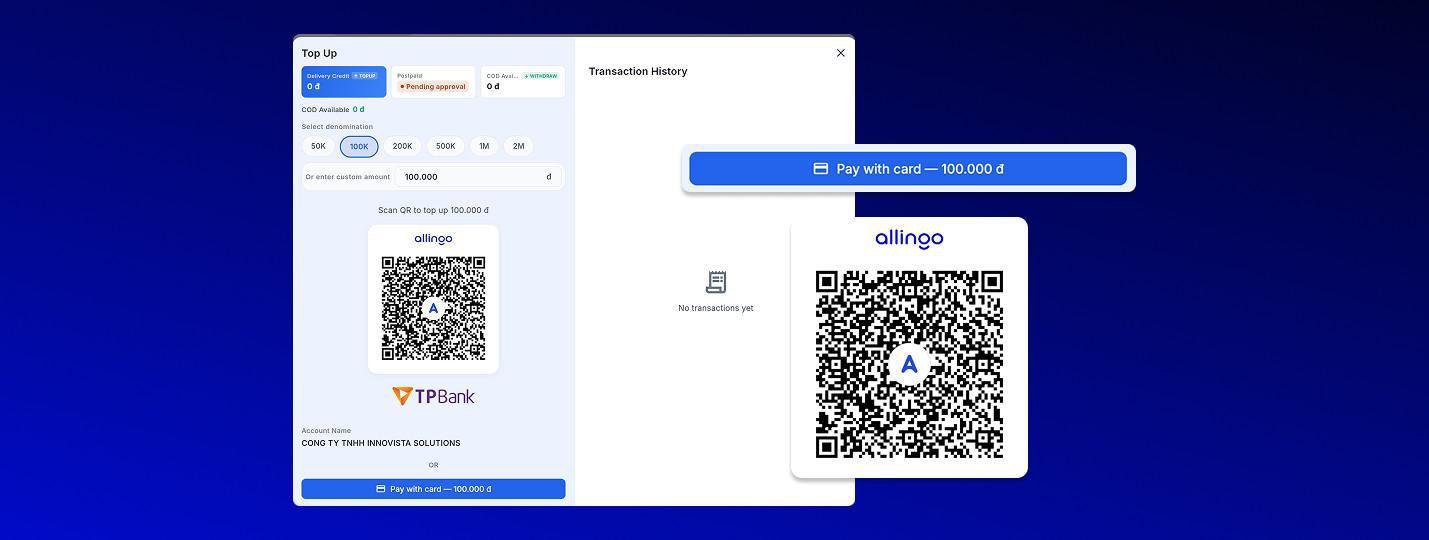
- Activate a Postpaid account: Prefer to pay later? Open the Postpaid option and click Request Activation. With postpaid, you pay for shipments after delivery and settle monthly — ideal for high-volume or established businesses. Your available COD balance can also be withdrawn.
Once your account is funded or postpaid is approved, you can start a new shipment and compare partners — such as Grab, J&T, SPX, and many others — to choose the best option for each package. For more information, you can explore the following resource: Allingo Dashboard Guide: How to Create New Shipments. By managing all of these logistical elements in one place, users enjoy significant savings in both cost and time, alongside higher success rates for their package deliveries.